
Review · NEW YORK CITY
Manhattan Architecture Photography Tour
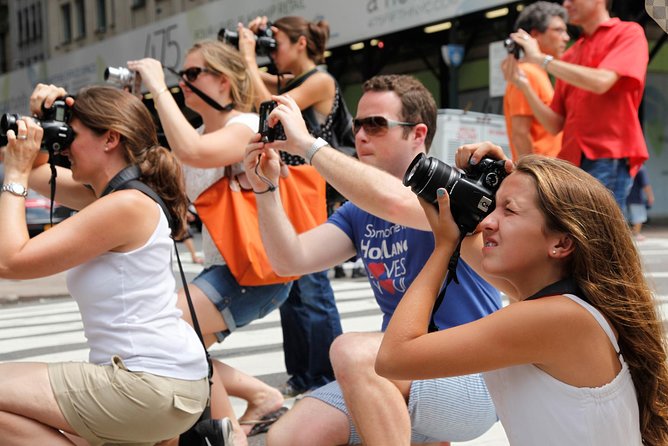
Manhattan’s best photo stops are packed close together, but finding a strong angle among crowds, traffic, and tall buildings is another matter. This three-hour walking tour gives you a practical way to photograph Grand Central Terminal, Times Square, the Chrysler Building, and Bryant Park with help from a professional photographer.
I like the small maximum of eight people, which gives the guide room to adjust advice to your camera and experience. I also like that the tour teaches useful choices, such as removing empty space, working with angles, and capturing the mix of light and motion in Times Square. The main consideration is the walking: you need a moderate level of fitness, and the tour depends on good weather.
Key points at a glance
- Grand Central comes first: Spend about 20 minutes photographing the main interior of one of New York’s most impressive public spaces.
- You get hands-on instruction: The guide can help beginners understand camera settings and show experienced photographers ways to improve composition.
- The group stays small: A maximum of eight people makes personal advice more likely than on a large city tour.
- The route links classic Manhattan subjects: You photograph buildings, interiors, street scenes, signs, and skyline views in one compact outing.
- You must bring your own camera: A digital camera is not supplied, so arrive with the equipment you plan to use.
- The tour ends somewhere different: It starts near Pershing Square and does not return to the starting point.
Why this photo walk works in Midtown Manhattan
The clever idea here is to treat Midtown as a ready-made photography classroom. You move from a grand interior to reflective skyscraper details, then into bright street scenes and open park views. Each stop presents a different problem, so you are not simply pointing at famous buildings and pressing the shutter.
A professional photographer leads the experience, and the small group size matters. With no more than eight people, you have a better chance of asking about your own camera, lens, or style. A beginner can get patient guidance, while someone who already takes photographs can ask for help with framing, light, or distracting space.
The teaching is practical rather than academic. One participant learned to use camera abilities that had been overlooked and to remove dull empty areas from an image. That is useful advice in Manhattan, where a famous subject can still produce a flat photograph if the composition is loose.
Guide Zim is specifically praised for adapting recommendations to a person’s interest and skill level. The supplied information also refers to Jim in one account, so guide assignment may vary. Either way, the experience is designed around instruction from a working photographer, not a scripted sightseeing talk.
More architecture photo walks in New York City:
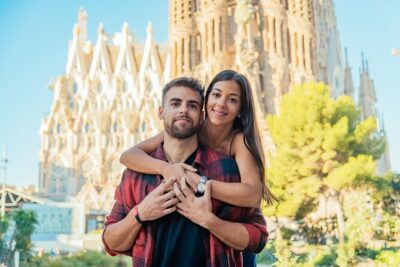
- Barcelona: Professional Photoshoot Outside Sagrada Familia
★ 4.8 · 179 reviews - Barcelona: Gothic Quarter Private Photoshoot Experience
★ 4.9 · 76 reviews - Barcelona: Private Sagrada Familia Photoshoot
★ 4.8 · 47 reviews
Grand Central Terminal: starting with scale and symmetry
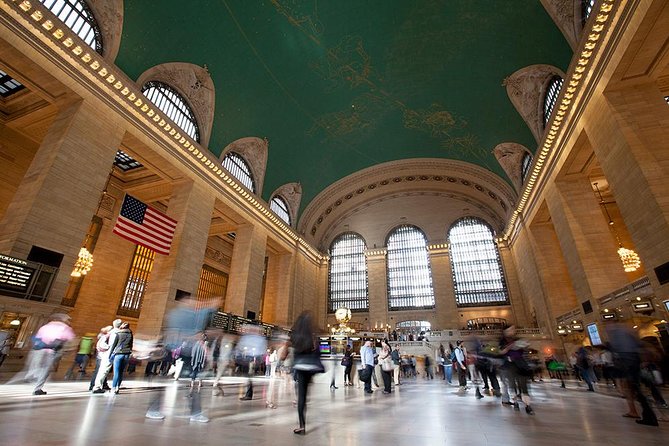
The first stop is Grand Central Terminal, where you spend about 20 minutes photographing the main interior. This is a smart opening lesson because the building gives you clear lines, repeated shapes, a huge ceiling, and strong contrasts between the open hall and the people moving through it.
You can work on composition here without needing to search for a subject. The challenge is choosing how much of the room to include. A wide view can show the full sense of scale, while a tighter frame can focus on architectural details or the flow of people below.
Your guide can help you decide where to stand and what to leave out. That matters because Grand Central is easy to photograph badly. A quick snapshot may show a beautiful room but lack a clear point of view. The instruction on angles and empty space can help turn a familiar interior into a stronger image.
The planned time is short, so do not expect a slow architectural study of every corner. The stop is best viewed as a focused lesson in working with a grand interior. Admission to Grand Central Terminal is included.
The Chrysler Building: finding a useful viewpoint
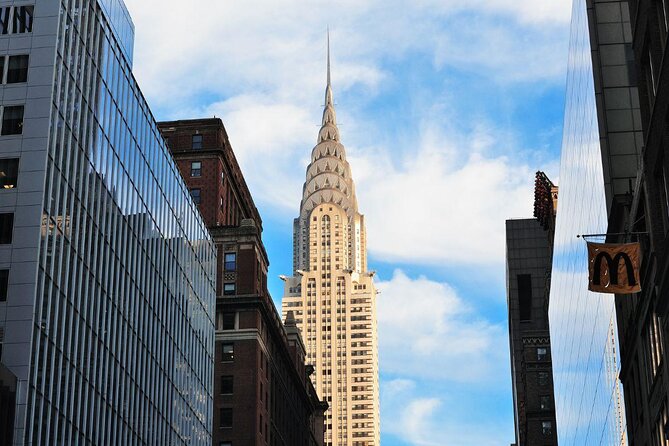
The Chrysler Building stop lasts about 10 minutes, with no admission charge. The building is one of Manhattan’s most recognizable towers, yet its height and surrounding streets can make it awkward to photograph from ground level.
That is where the guide’s input is valuable. You learn how to look for a workable angle instead of accepting the first view in front of you. The goal is not simply to record the tower. It is to make the frame show why the building is distinctive.
Ten minutes is enough for a quick lesson and several attempts, but not enough for a long session with multiple lenses or changing light. If you enjoy careful architectural studies, you may wish for more time here. Still, the short stop keeps the route moving and leaves room for the more active street photography later.
Times Square: handling light, movement, and visual overload
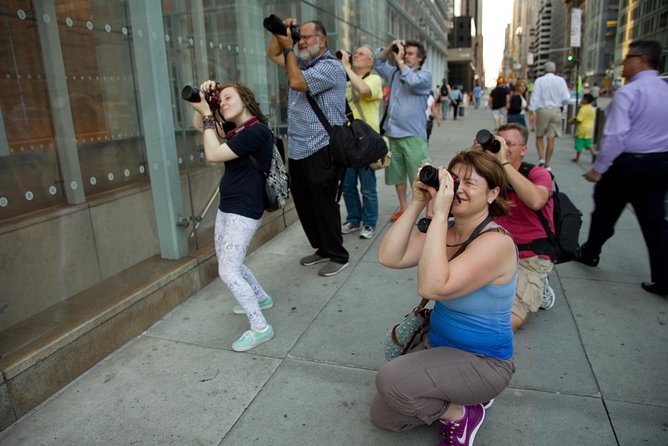
Times Square is the most demanding stop on the route. You have bright screens, crowds, traffic, tall signs, and constant motion competing for attention. The tour teaches you how to photograph those ingredients without allowing the picture to become a jumble.
This is a useful place to learn about timing. A strong image might depend on waiting for a person to cross the right section of the frame, balancing a bright sign against a darker area, or finding a position that reduces visual clutter. Your guide can point out angles you might miss when you are simply trying to take in the spectacle.
The listed stop lasts about 15 minutes. That is enough to practice a few approaches, but it is not a full evening street photography workshop. Times Square is also one of the places where your camera settings may need quick attention. If you are new to photography, ask the guide to explain how to handle the strong artificial light and movement before the group moves on.
Times Square admission is included, though there is no separate ticket in the usual sense. The value here comes from instruction and positioning, not entry to an attraction.
A few more architecture tours around New York City worth a look
- Manhattan Architecture Yacht Cruise
★ 5.0 · 1,395 reviews - NYC: Around Manhattan Official NYC Architecture Cruise
★ 4.8 · 402 reviews - Art Deco and Architecture Midtown Landmarks Tour
★ 5.0 · 142 reviews - Tribeca Architecture And History Walking Tour
★ 5.0 · 141 reviews
New York Public Library: an exterior with strong lines
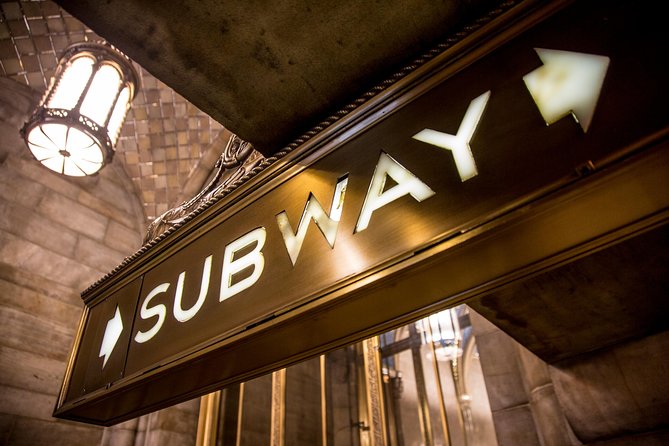
The New York Public Library provides a calmer architectural subject after Times Square. The stop is scheduled for about 15 minutes, and the focus is on photographing the exterior.
The building gives you a chance to work with a formal facade, repeated details, and a more controlled arrangement than the nearby commercial signs. You can practice keeping vertical lines straight and deciding how much surrounding space belongs in the image.
The library is also a useful reminder that good city photography does not always require an unusual subject. A familiar building can produce a better photograph when you pay attention to balance, perspective, and the relationship between the structure and the street.
The information provided identifies admission to the New York Public Library as included in the itinerary, but the tour description emphasizes recording the exterior. Do not book this expecting a long indoor library visit. The stop is primarily about photographing the building from outside.
Bryant Park: an open frame for the Empire State Building
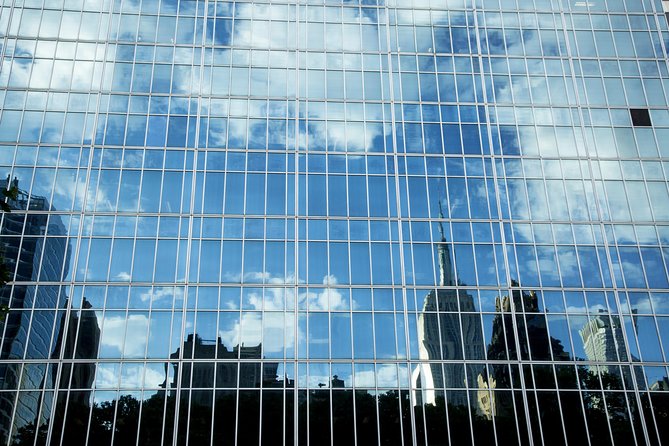
Bryant Park is scheduled for about 15 minutes and offers one of the clearest chances to work with a distant skyline subject. The park is specifically used for views toward the Empire State Building.
Compared with the tight streets around Midtown, the park gives you more room to arrange a frame. You can consider how trees, paths, open lawn, and nearby buildings relate to the tower in the background. This is a good place to put the earlier advice about eliminating dull space into practice.
The Empire State Building may be familiar, but the photograph does not need to be ordinary. A small change in position can alter the balance between the tower and the park. Your guide can help you decide whether the building should dominate the frame or act as part of a wider city scene.
The tour information includes Bryant Park among the admissions, although the individual stop is also listed without an admission charge. In practical terms, you should not expect an extra ticket expense for this part of the experience.
What the three-hour schedule really allows
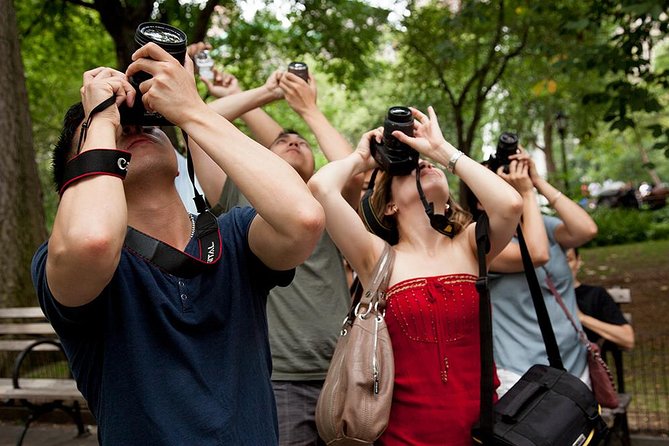
Three hours sounds generous, but the route includes several stops and time spent walking between them. You should expect focused instruction rather than long periods at each site.
The scheduled photography time at the named stops adds up to about 75 minutes. The rest of the outing covers movement between locations, orientation, positioning, and guidance. That pace works well if you want to see several Midtown sights while learning along the way. It is less suitable if you hope to spend an hour at one building waiting for a particular light or composition.
The route also includes a view of the Pershing Square Signature Center, a complex of three theaters just off Broadway, along with additional references to Manhattan landmarks and the heart of Times Square. These points help connect the main stops, but the available details do not provide exact timing or a separate photography lesson for each one.
Start at Pershing Square, 90 E 42nd Street. The activity ends at a different location, so avoid scheduling a time-sensitive reservation directly afterward unless you have allowed extra time. The route is near public transportation, which makes both the start and the finish practical for a day in Midtown.
The teaching is the main value
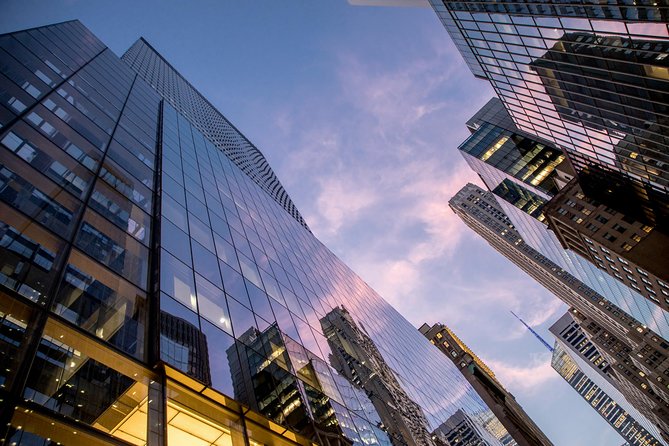
At $125 per person, this is not the cheapest way to walk through Midtown. You are paying for a small group, a professional photographer, and personal instruction rather than transportation or a long list of paid attractions.
The price makes more sense if you use the guide actively. Bring questions about your own camera. Ask why a certain angle works. Try the suggestion, check the result, and ask what to change. If you only follow the group and take quick snapshots, you will get less value from the fee.
For a beginner, the benefit is confidence. You can learn what your camera can do, how to frame a busy scene, and how to avoid images dominated by empty or distracting space. For an experienced photographer, the benefit is a second set of eyes in difficult locations.
The guide’s ability to adjust advice is important here. Zim is described as patient with a novice and able to tailor recommendations to personal interests. The guide also adds local New York context while teaching photography, giving the route more character than a purely technical lesson.
Who should book this experience
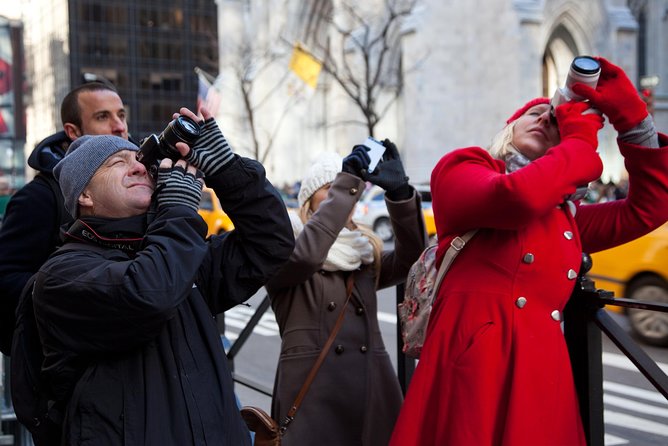
This tour suits you if you want practical help and prefer learning while seeing major New York sights. It is especially useful for:
- First-time photographers who want help using camera features
- Visitors who know basic photography but struggle with composition
- People who want better images of famous places than quick phone snapshots provide
- Partners or friends with different levels of photography experience
- Anyone who likes a compact Midtown route with a professional guide
It may be less suitable if you dislike walking, want a private lesson, or prefer to photograph at a slow pace. The maximum group is eight, but it is still a group activity. You should also be comfortable keeping up between stops and working in busy public places.
Children must be accompanied by an adult. Service animals are allowed. The activity requires moderate physical fitness, and the need for good weather means the schedule can change if conditions are poor.
What to bring and how to prepare
A digital camera is not provided, so bring the camera you want to learn to use. The supplied information does not require a particular model, lens, or accessory. If you usually photograph with a phone, confirm at booking whether that fits the operator’s teaching setup, since the experience is described around camera tuition.
Arrive ready to walk and work quickly. Keep equipment easy to access, since Times Square and the other stops do not allow much time for a complicated setup. It is also wise to know how to turn your camera on, change basic settings, and review an image. That leaves more time for useful instruction.
Think about what you want from the session before you arrive. You might want help with architecture, street scenes, camera controls, angles, or avoiding empty space. The clearer your question, the easier it is for the guide to shape the advice around you.
Cancellation and weather details
You can cancel up to 24 hours before the start time for a full refund. Changes or cancellations made less than 24 hours before the experience are not accepted for a refund.
Good weather is required. If poor weather causes the operator to cancel, you are offered another date or a full refund. That policy is worth noting because outdoor stops make up much of the route, even though the tour begins inside Grand Central Terminal.
Should you book the Manhattan Architecture Photography Tour?
Book it if you want to improve your city photographs while seeing a compact group of Manhattan landmarks. The strongest reasons are the small group, the professional instruction, and the range of photographic problems packed into three hours: grand interiors, skyscraper angles, bright street scenes, formal facades, and an open view toward the Empire State Building.
Skip it if you want a relaxed sightseeing walk with little technical discussion, or if you need a private, highly specialized architecture session. At $125, the value depends on taking part in the lessons. Bring your own camera, ask direct questions, and use each stop as practice rather than simply collecting snapshots.
FAQ
How long does the Manhattan Architecture Photography Tour last?
The tour lasts approximately three hours.
Where does the tour begin?
The meeting point is Pershing Square, 90 E 42nd Street, New York, NY 10017.
Where does the tour end?
The activity ends at a different location from the starting point. The exact end point is not specified in the provided details.
Is a camera provided?
No. A digital camera is not included, so you need to bring your own camera.
How many people can join the tour?
The tour has a maximum of eight participants.
What happens if the weather is poor?
The experience requires good weather. If it is canceled because of poor weather, you are offered a different date or a full refund.
Just added around New York City
- Race to the Sky: NYC Architecture Tour With SUMMIT One Ticket★ 5.0 · 3 reviews
- New York Upper West Side Art and Architecture Tour★ 5.0 · 4 reviews
- Private Flatiron Food, History and Architecture Tour★ 5.0 · 8 reviews
- Custom Private New York Architecture, Art and City Tour★ 5.0 · 3 reviews
- Chelsea and the High Line NYC Architecture Walking Tour★ 5.0 · 6 reviews
- New York Upper East Side Art and Architecture Tour★ 5.0 · 3 reviews
- Midtown North NYC Architecture Walking Tour★ 5.0 · 28 reviews
- New York Midtown South Art and Architecture Tour★ 5.0 · 2 reviews
Photography Sessions, compared.
Barcelona: Professional Photoshoot Outside Sagrada Familia
Read our review →
Saint Augustine Evening Architectural Photo Tour
Read our review →
Browse the lists this tour appears in